Git For Windows Developers – Git Series - Part 1
UPDATE: I’ve updated the msysgit installation screens so they are more current. Git-1.7.7.1 is the latest one as of this update. The subsequent screens show Git-1.6.3. I assure you that all of the commands in the first three parts of this series will work on 1.6.3.
Git For Windows Developers - Git Series - Part 1
Git For Windows Developers - Git Series - Part 2
Git For Windows Developers - Git Series - Part 3
This post is going to be the first of a few. I plan to convey everything I’ve learned the past 8 months while using git on a development team. I’m currently working on a Macbook Pro, doing Ruby on Rails development with git as the source control. These posts will be specific to using git on the Windows operating system.
This post is going to talk about installing msysgit, creating ssh keys, and creating a local git repository.
If you already have msysgit installed, have created your ssh keys, and have an existing application you just want to put in a git repository, go here
Installing msysgit On Windows
For windows, install msysgit (both ssh key generation capabilities and git come with this tool):
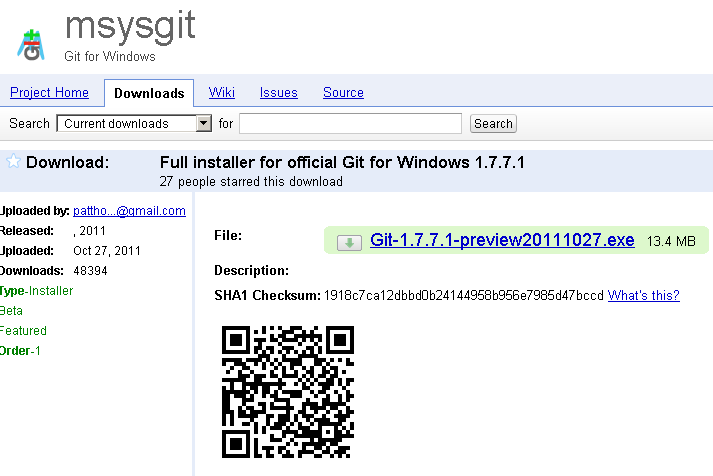
Download the latest version of msysgit:

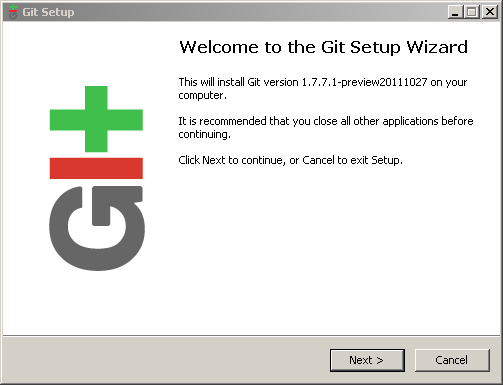
Going through the setup. Click next past the first window.
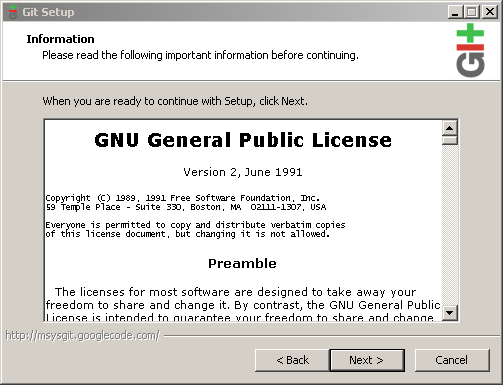
Agree to the GPL terms:
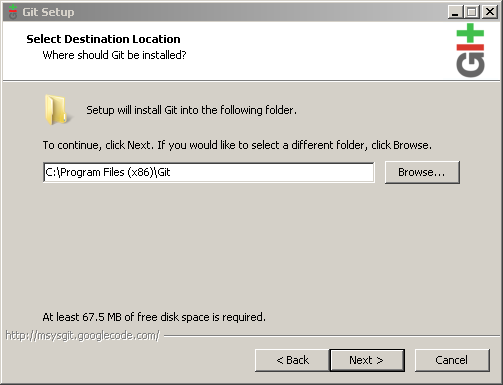
Set the installation location (default was fine for me: C:\Program Files\Git):
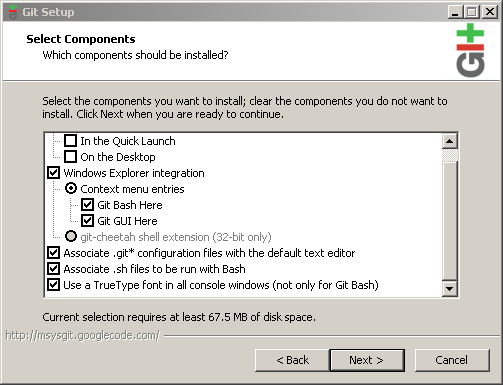
Choose installation options. I don’t like to clutter my desktop, so that one is unchecked. I also use Console2 so that is on my Quick Launch, not Git Bash The context menu entries options give a user two new options on files when right-clicked in Windows Explorer. We’ll talk about this later in the post.
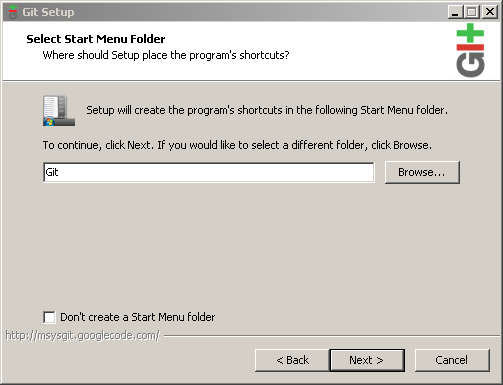
The next screen asks what name the folder that the program will be available from when I click Start->Programs, etc:
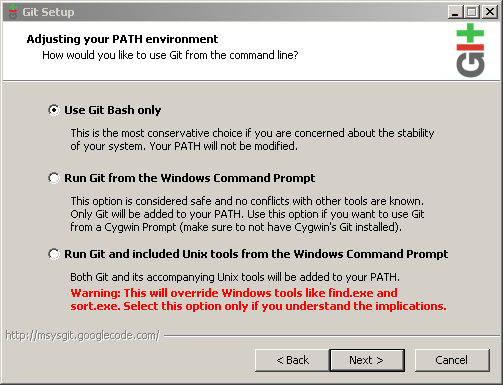
I use the “Git Bash only” option because it’s the only reason I downloaded msysgit. The other two options are tightly coupled to the operating system’s current setup.
UPDATE: Via Joshua Flanagan, I was informed that tortoisegit, a UI tool, suggests that you choose the second option “Run Git from the Windows Command Prompt”. I’ve done both, I just prefer the first option because I don’t use tortoisegit. Just be aware.
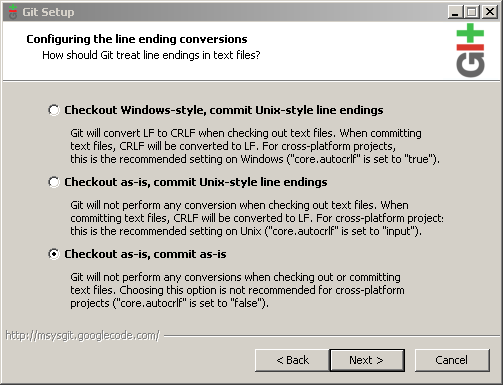
Typical Windows developers won’t interact with other operating systems so choosing the 3rd option, in regards to non-handling of line-endings is usually best.
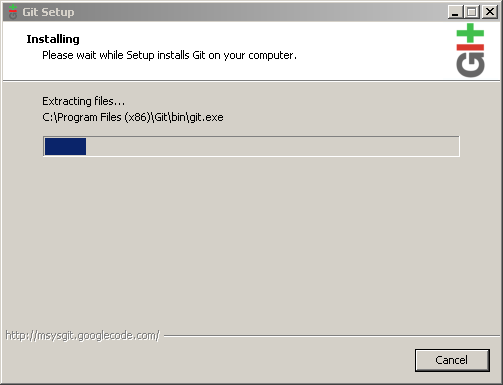
Click next and the installation starts.
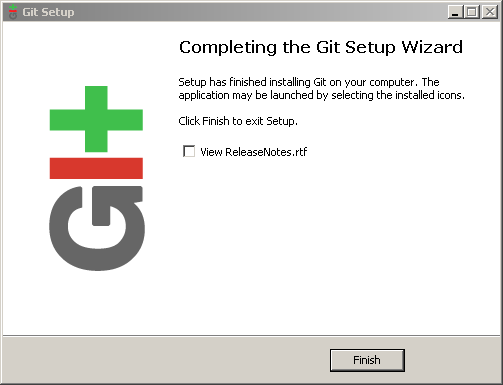
Uncheck the readme (who reads those anyway?) and click Finish.
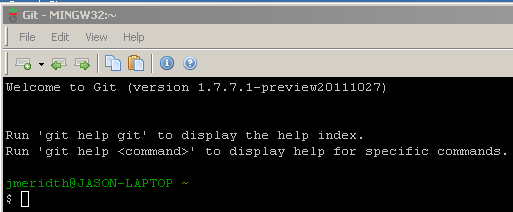
Once installed, when I click the Windows button and type git (since I’m using Windows 7) I’ll see “Git Bash”, “Git Gui’”, “Uninstall Git”. Click “Git Bash”. You will see the version at the top of the window. We’re good to go:
I also issue the following commands, “git config –global user.email my@email.com” and “git config –global user.name ‘Jason Meridth’”:

After I commit code in my new repository, later in the post, we will see why these are relevant.
Generating SSH Keys
I’ve met a good number of Windows developers who don’t know what SSH is. My quick definition of Secure Shell (aka SSH): A secure connection mechanism to other networked machines that support SSH, usually over port 22. It is pretty much the default form of remote communication for other platforms. More information if you’re interested.
History and Retrospective: I used to use cygwin + ssh keys for my git stuff on my windows VMs, but have realized, via advice from a friend, that cygwin will not be the easiest thing to teach to a typical Windows user. I am in no way assuming that any of our readers are “typical” windows users, but he’s right. And msysgit needs to become the defacto Windows git tool anyway. What better way to help that project succeed than to give it more users.
I’ll generate the SSH Keys I will use to need to connect to remote repositories. I issue the following command “ssh-keygen –C ‘your@mail.com’ –t rsa” (using your own email address of course) and then press enter when prompted on file location and return two more times on both passphrase questions:
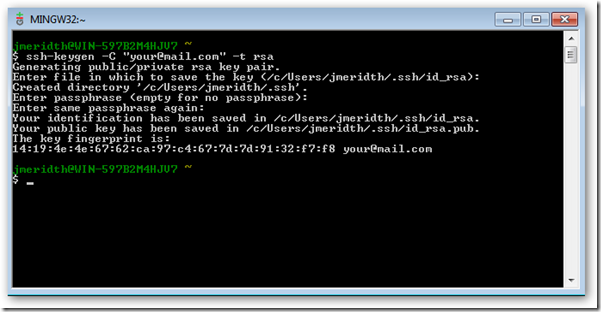
This will create two files in my /c/Users/jmeridth/.ssh folder. These files are my private and public keys (id_rsa and id_rsa.pub). The public key is the one we will be moving to remote git repository servers in later posts.
SIDE NOTE: back up these keys to a secure location. If they accidentally get corrupted, deleted, or changed you will be able to restore them at any time. I type “secure” because you need to make sure no one gets a hold of your private key. If either of those situations occur you can just recreate the keys, but every server that already has your public key will need the new public key (kind of a headache and time consuming). I’m speaking from experience on this.
This process will not apply to the remainder of this post, but will for following posts.
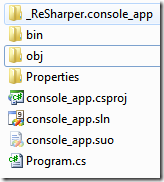
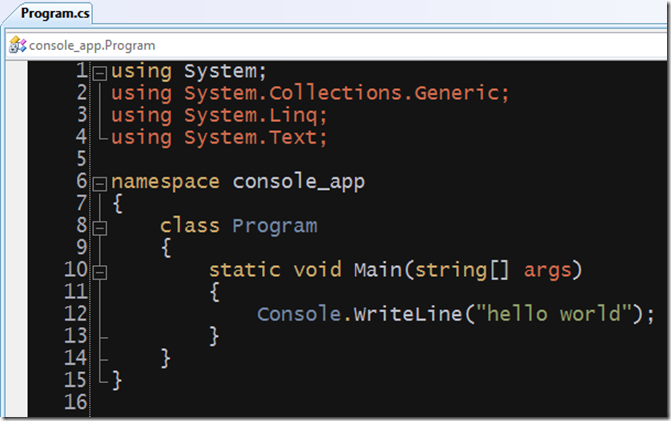
Putting My Code Under Source Control With Git For example’s sake, say we have a folder under C:code. In that folder we’ve created a folder called “console_app”. Inside this folder is a .NET 3.5 Console application that will send “hello world” to the output. Really? Again? Yep.
The easiest thing that works:
I built the application to ensure the bin and obj folders are created. I’ll explain why in a minute. In windows explorer I went to the C:code folder. I right-click the console_app folder. Notice the two choices of “Git GUI Here” and “Git Bash Here”. When chosen they will open the corresponding msysgit tools at that desired location.
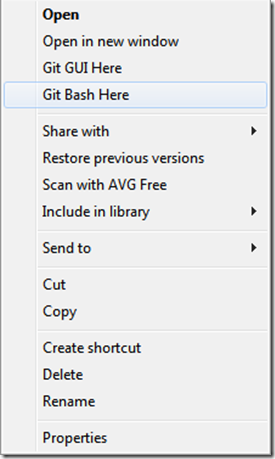
Each of these choices shows the two different ways of creating a local git repository or converting an existing folder into a git repository. I will show how to use Git Bash in this post and will use it mainly in this series. (If I get enough response to show Git GUI, I may do that)
Turning the Console Application Into A Git Repository With Git Bash Choosing “Git Bash Here” when right-clicking the C:codeconsole_app folder gave me the following:

Pretty much what I’ve already seen, but notice the path “/c/code/console_app”. For the individuals who aren’t used to a *nix type path structure, that is the same as C:codeconsole_app.
Finally, Git Commands In the prompt, type “git init”:
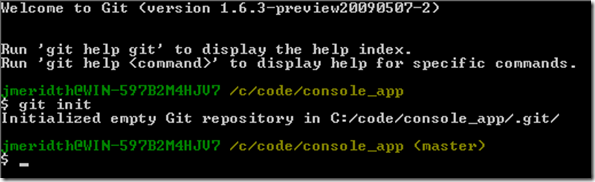
I just turned my folder into a git repository. Really that easy? Yep. Notice the folder mentioned in the response to the command. The .git folder. For the subversion users who are reading: Remember how you’d have a .svn folder under every directory of your repository? Not with git. You only have the one .git folder. If you delete that, you’re folder is no longer a git repository. Yes, it’s that easy.
Also, notice the “(master)” on the end of our prompt. That is a nice feature of msysgit. It is telling me what git branch I’m are currently in. We will talk more about that in a future post. I mention it in case anyone notices the new prompt.
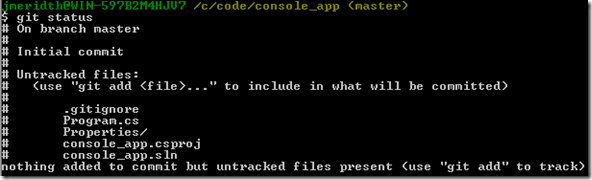
Now issue a “git status”:
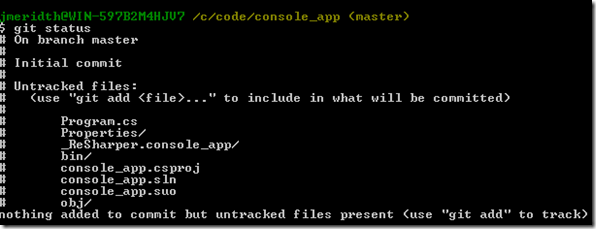
I will explain this output in a second. I need to create a .gitignore file first. Why? You notice that the bin and obj folders and the ReSharper files are listed? I don’t want to include those items in our repository. Why? Those are items that another developer doesn’t need to successfully get the source and compile. They are specific to my local environment.
I tried to create a .gitignore file in Windows Explorer and kept getting this error:
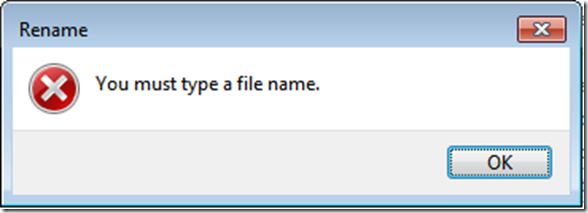
Windows doesn’t understand dot files (i.e., .bashrc, .gitignore, etc). Windows expects your files to have a name.extension convention.
My love for Windows grows every time I use it
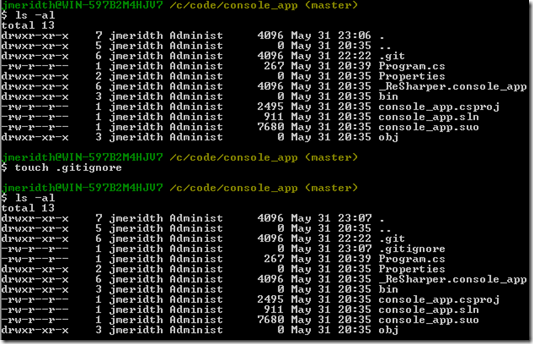
Remember I said I was building the application for a specific reason (aka the bin and obj folders)? It was to highlight the necessity of the .gitignore file and how it can explicitly exclude files from your repository. I go into the Git Bash, at the C:codeconsole_app folder. I type “ls –al” to list all the files, including dot files. Notice we have .git, but no .gitignore. I type “touch .gitignore”. This will create the .gitignore file with no content. Issuing “ls –al” again and you see the new file.
Now I edit the file in vim, my favorite editor, which came with msysgit. I could use any text editor (i.e., notepad, wordpad, notepad++, etc)
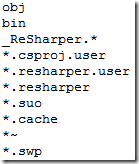
I add the following to it:
I save the file.
Now I issue a “git status” again and the bin and obj folders and ReSharper files are not shown. I do now have the .gitignore file listed, but that was expected.
Alright. Hopefully you are either saying, “yeah, I know, I have to add the files to my staging area, and then commit them to my local repository” or “what the heck is that?”. Maybe even something between like, “I know I have to add them to the repository….wait, what is a staging area?”.
Here is a picture that illustrates what the basic interactions with a local git repository consist of:

Ignore the “checkout the project” red arrow. Focus on the “stage files” and “commit” red arrows. Those are the actions you need to take to place/update files in your local repository. So, currently, all the files for my console_app application are in my working directory. I need to put them into the staging area before committing them to the local repository.
Common Questions:
Q: Aren’t we in a folder already? How does git know what’s in and what’s not in the local repository? A: The .git folder (we will dive deep on that folder in a future blog post)
Q: What does the staging area give me? A: A prepared set of files that you have ready to commit to the local repository.
So I issue the “git add .” command:

And I issue “git status” again:
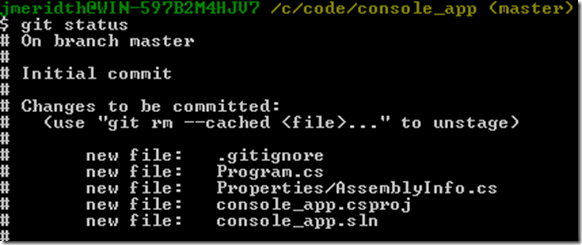
Now the files are shown as “Changes to be committed”. Git even shows me how to remove files from the staging area; “git rm –cached ”.
I now issue the “git commit –m ” command:
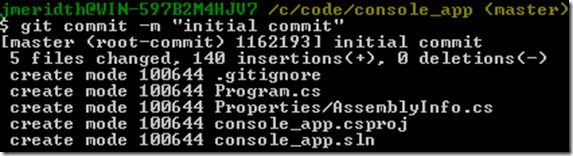
The “-m” and subsequent text is the message that is assigned to the commit. I see the files get added.
I now issue the familiar “git status” command:

“nothing to commit (working directory clean)”. Cool. All of my files are now initialized in the git version control system. How do I see what has been committed to this repository? Good question. Just issue the “git log” command:
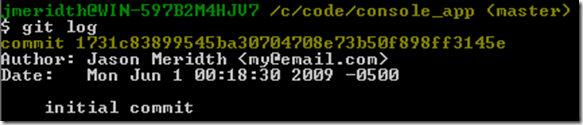
Remember those two git config calls we made earlier? This is where those are relevant. They populated the Author information for the commit. What are those numbers after the commit word? Those are the SHA1 (secure hash algorithm) hash assigned to this commit. SHA1 hashes are “unique”. Why do I have unique in quotes? Go read this.
I think that is enough for now and if you have any questions, please leave a comment. I will update this post upon necessity. In the next few posts I will be going over the common commands (clone, push, pull, fetch, merge, rebase, remote, branch, etc). I will also show you how to interact with Github.com, a remote git repository via ssh on a LInux box, and Gitosis, a mutli-user and multi-git repository management tool. I will be using the Linux operating system for all the remote servers. The local git commands should be applicable to all platforms once you have git installed correctly.
I actually have a good portion of the next post already written and will complete it soon.